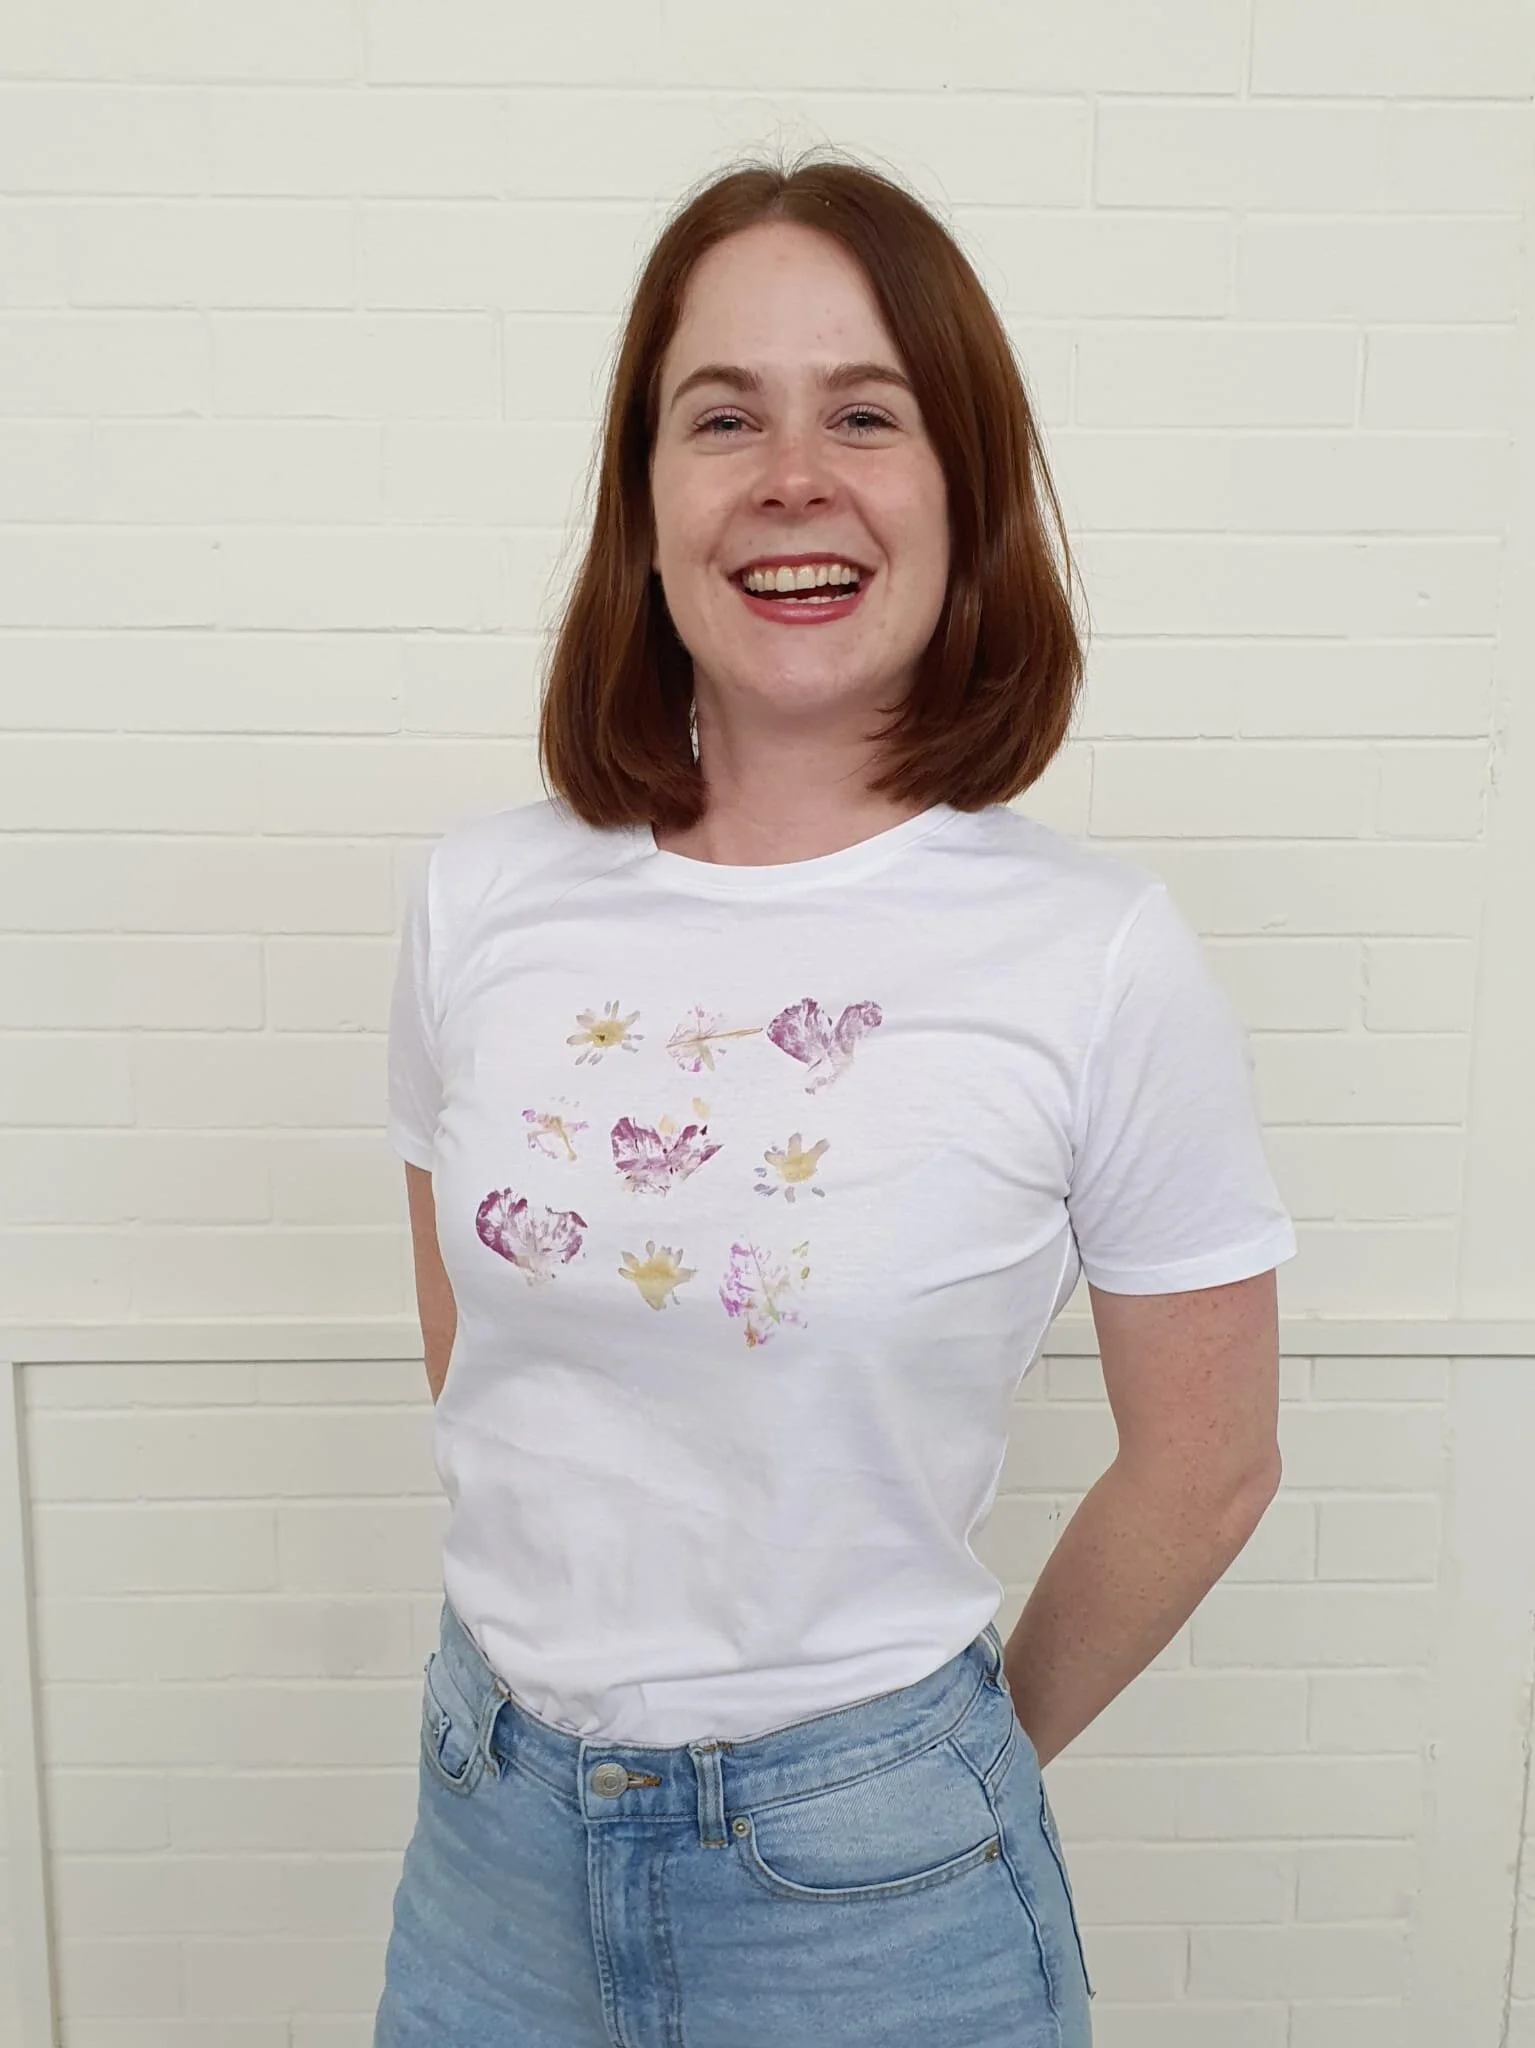
DIY Smashed Flower Tee
Now that it’s getting colder, if you’re anything like us, you’ll start to notice the shift in colour not only in nature but also in what everyone wears. We go from vibrant, happy colours to mostly blacks and greys but here at HOH we want colour all year round! We’ve found a super fun new way to bring a little bit of extra colour into your wardrobe this winter and the best part, it’ll cost next to nothing!
Smashed Flower Tees 🌼
I know, I know, it sounds a little weird but trust me, combining a little bit of stress relief with some beautiful blooms can lead to completely unique floral printed clothing!
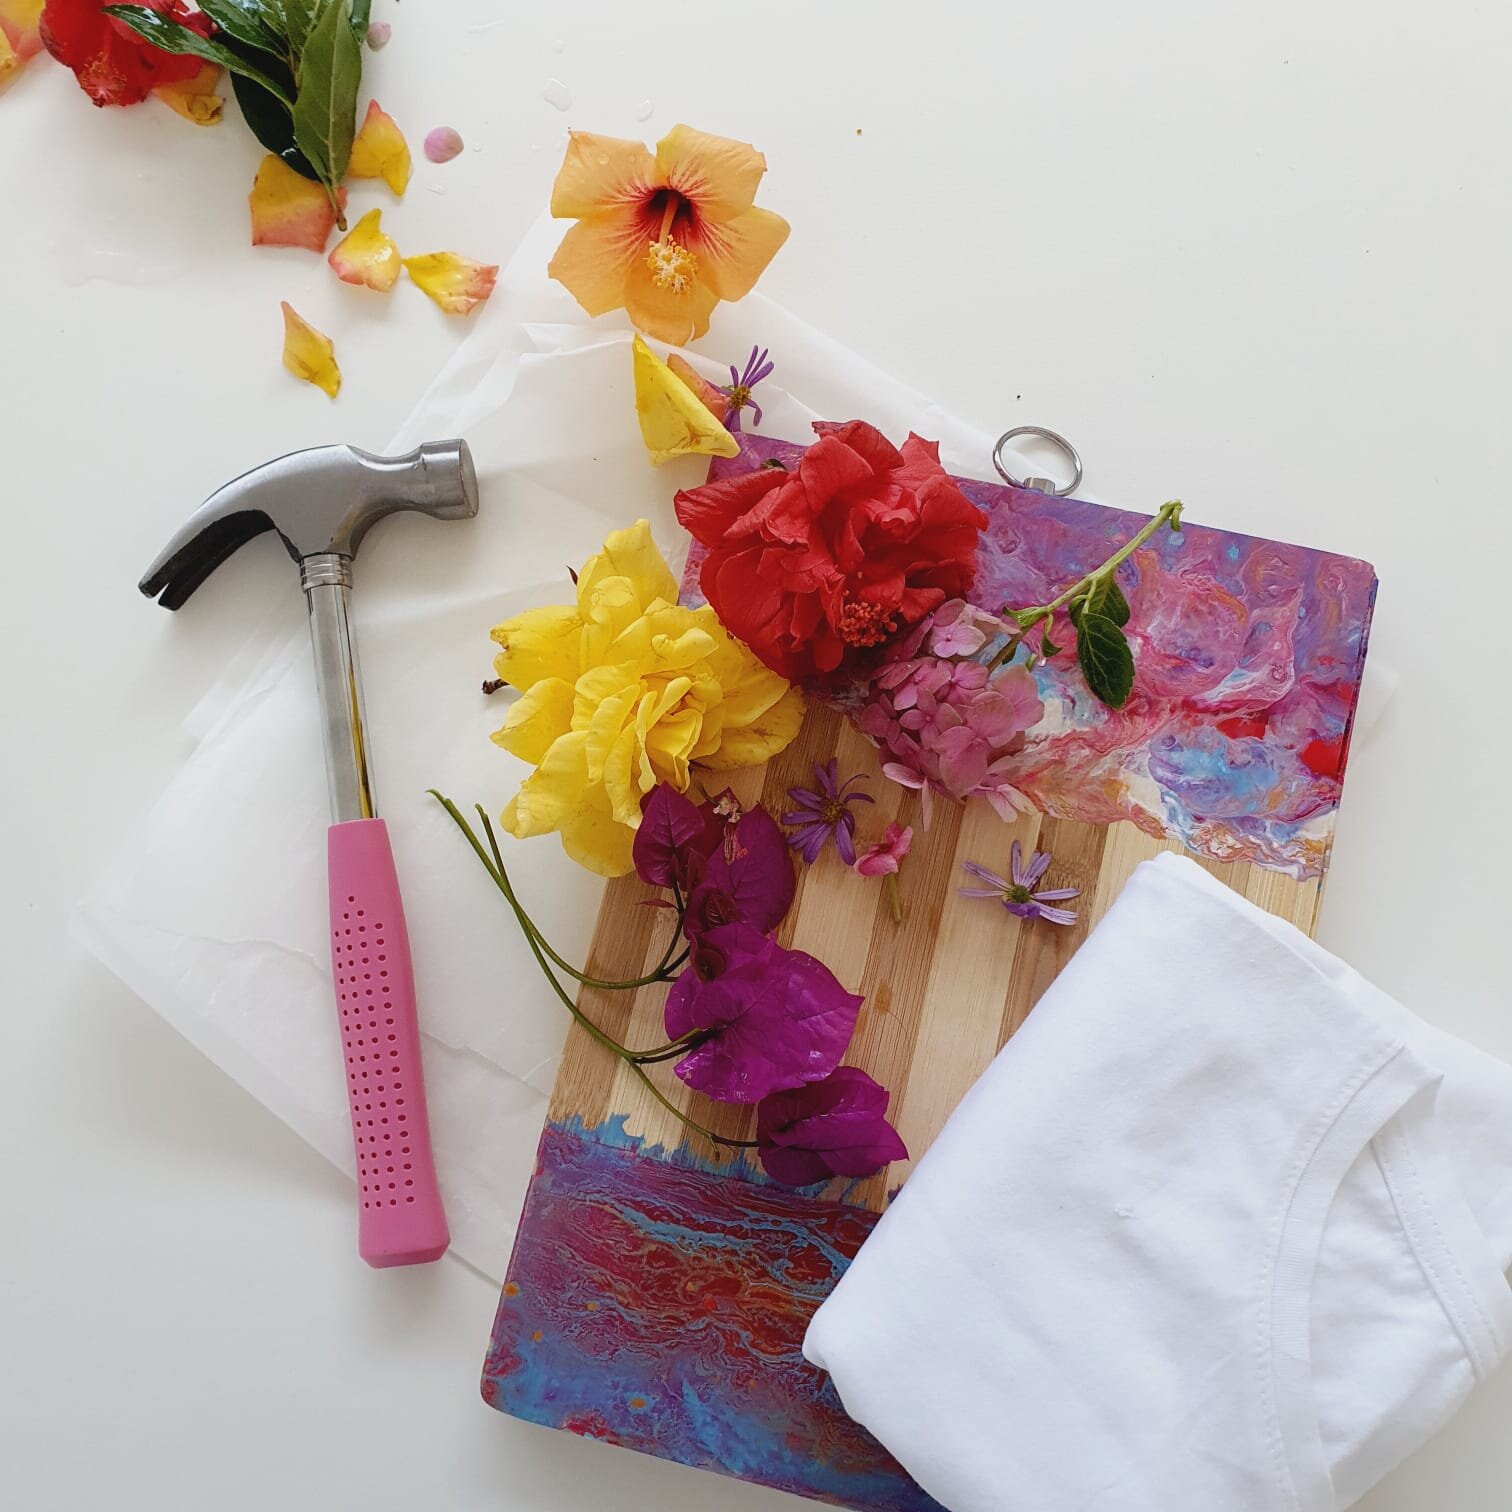
To get started, you’ll need the following items:
A Board that fits inside your shirt or fabric (to protect your surface and the back side of your shirt)
Baking paper
A Hammer or Mallet (for smashing flowers)
A Cotton Tee (use white to get the most vibrant colours)
Flowers (we picked ours from the garden but you can buy some if you’d prefer, the juicier and brighter, the better)
Masking Tape (to keep the flowers in place as you smash them) - optional
An Iron & Ironing Board (to seal in your final print)
Now that you’ve got everything, let’s get into it!
First thing’s first, you need to make sure your tee is washed and dried, this way the flowers will have the best chance of soaking into the fabric.
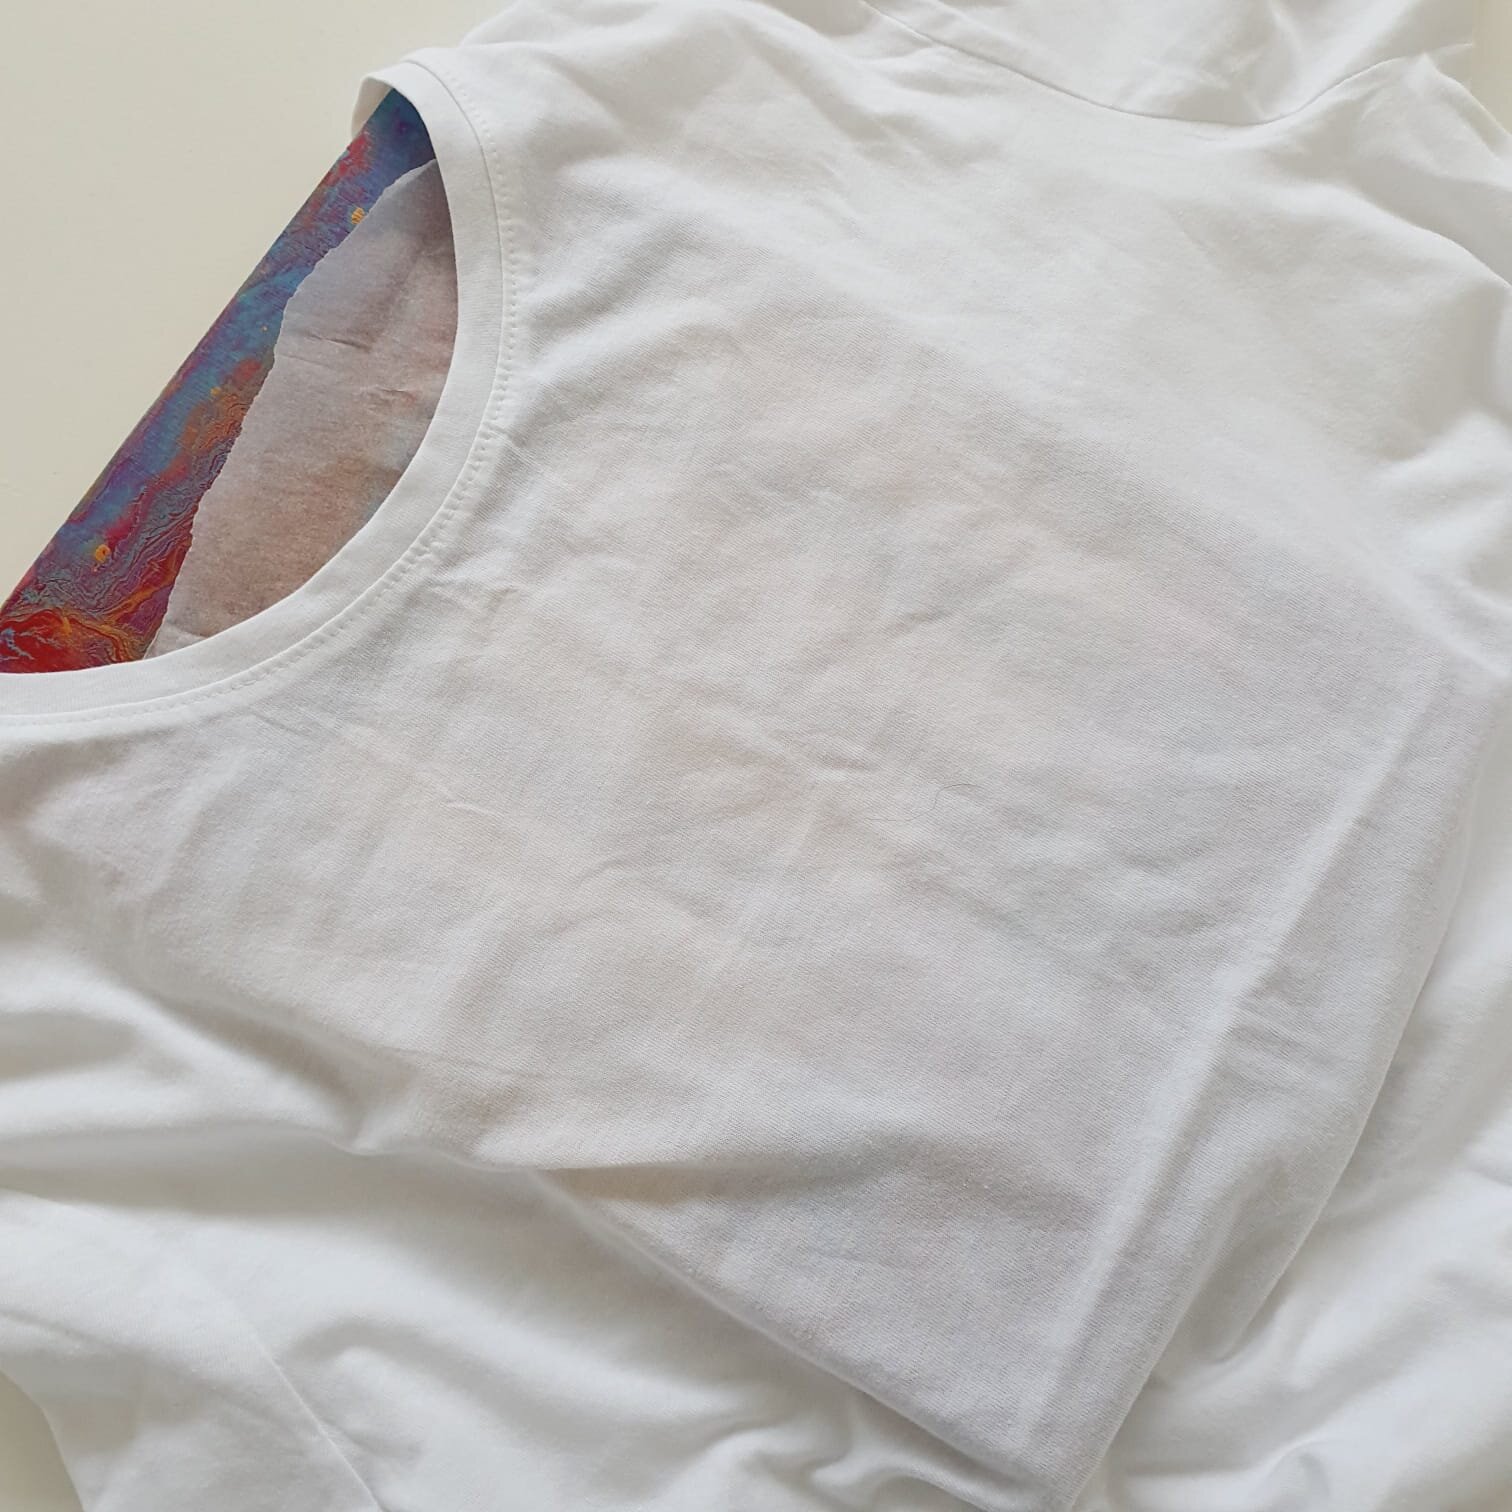
Once it’s clean, slide your board and a piece of baking paper inside the shirt to separate both sides and give you a hard surface to hit with the hammer.
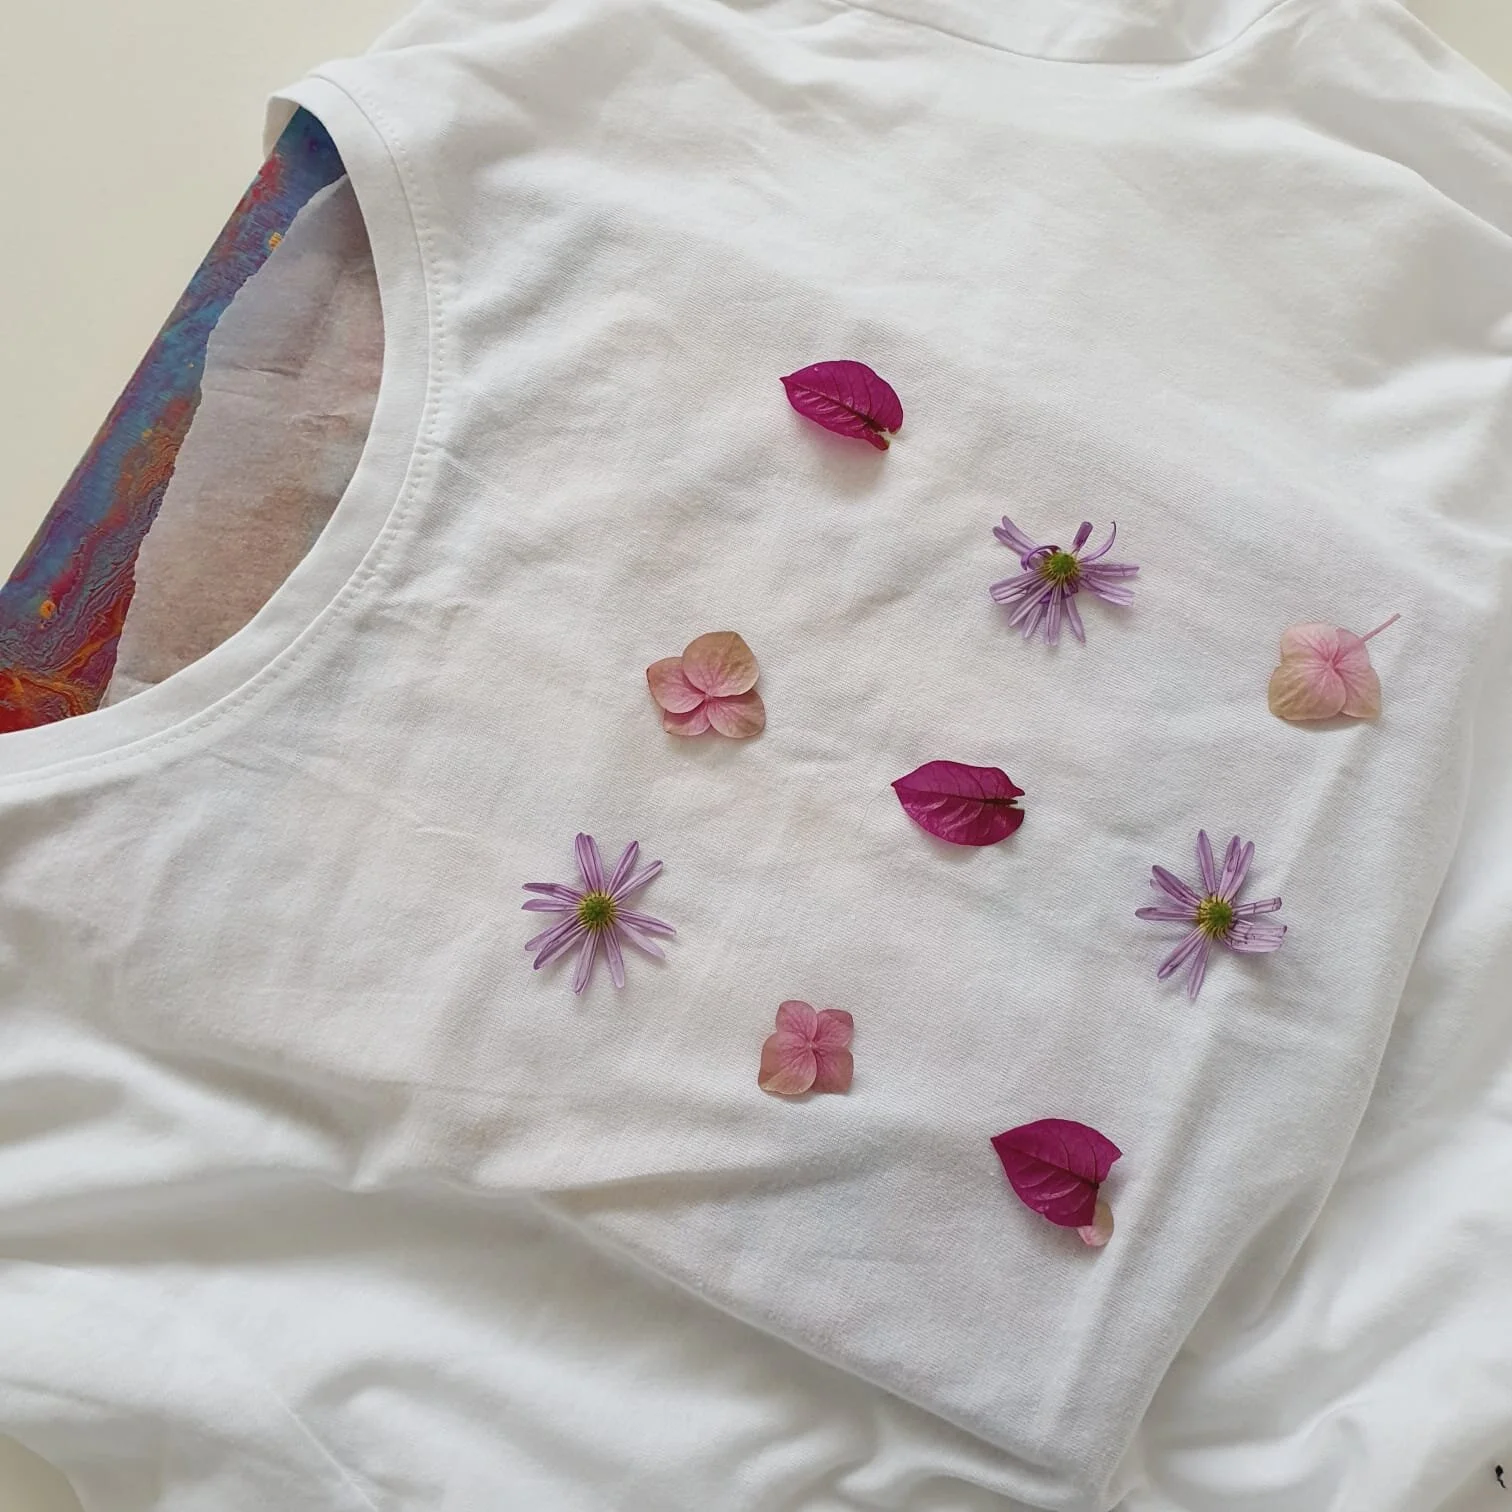
Arrange your flowers in any formation you like, we chose a super simple 9x9 square. You can use single petals, the whole flower and even just the leaves so have some fun with it! If you’re worried about the flowers moving, secure them with small pieces of masking tape.
Now that you have a design that you like, place a sheet of baking paper over the flowers (waxy side down) and then it’s HAMMER TIME!!
Let out all the stress and rage you’ve ever built up and smash them flowers. The more you hammer, the more the pigment will come out and stain the fabric so be sure to pretend each and every flower has personally offended you. When you think you’re done, hit it a couple more times, just to be sure.

When you’re the happiest you’ve been in years, carefully peel back the baking paper and remove the remaining flower pulp to reveal your design!
Allow about 15-20 minutes for the design to dry fully and, once dry, lay another piece of baking paper over the design, and seal it by ironing it for roughly 30 seconds - be sure to move the iron around to avoid burning the paper or the design.
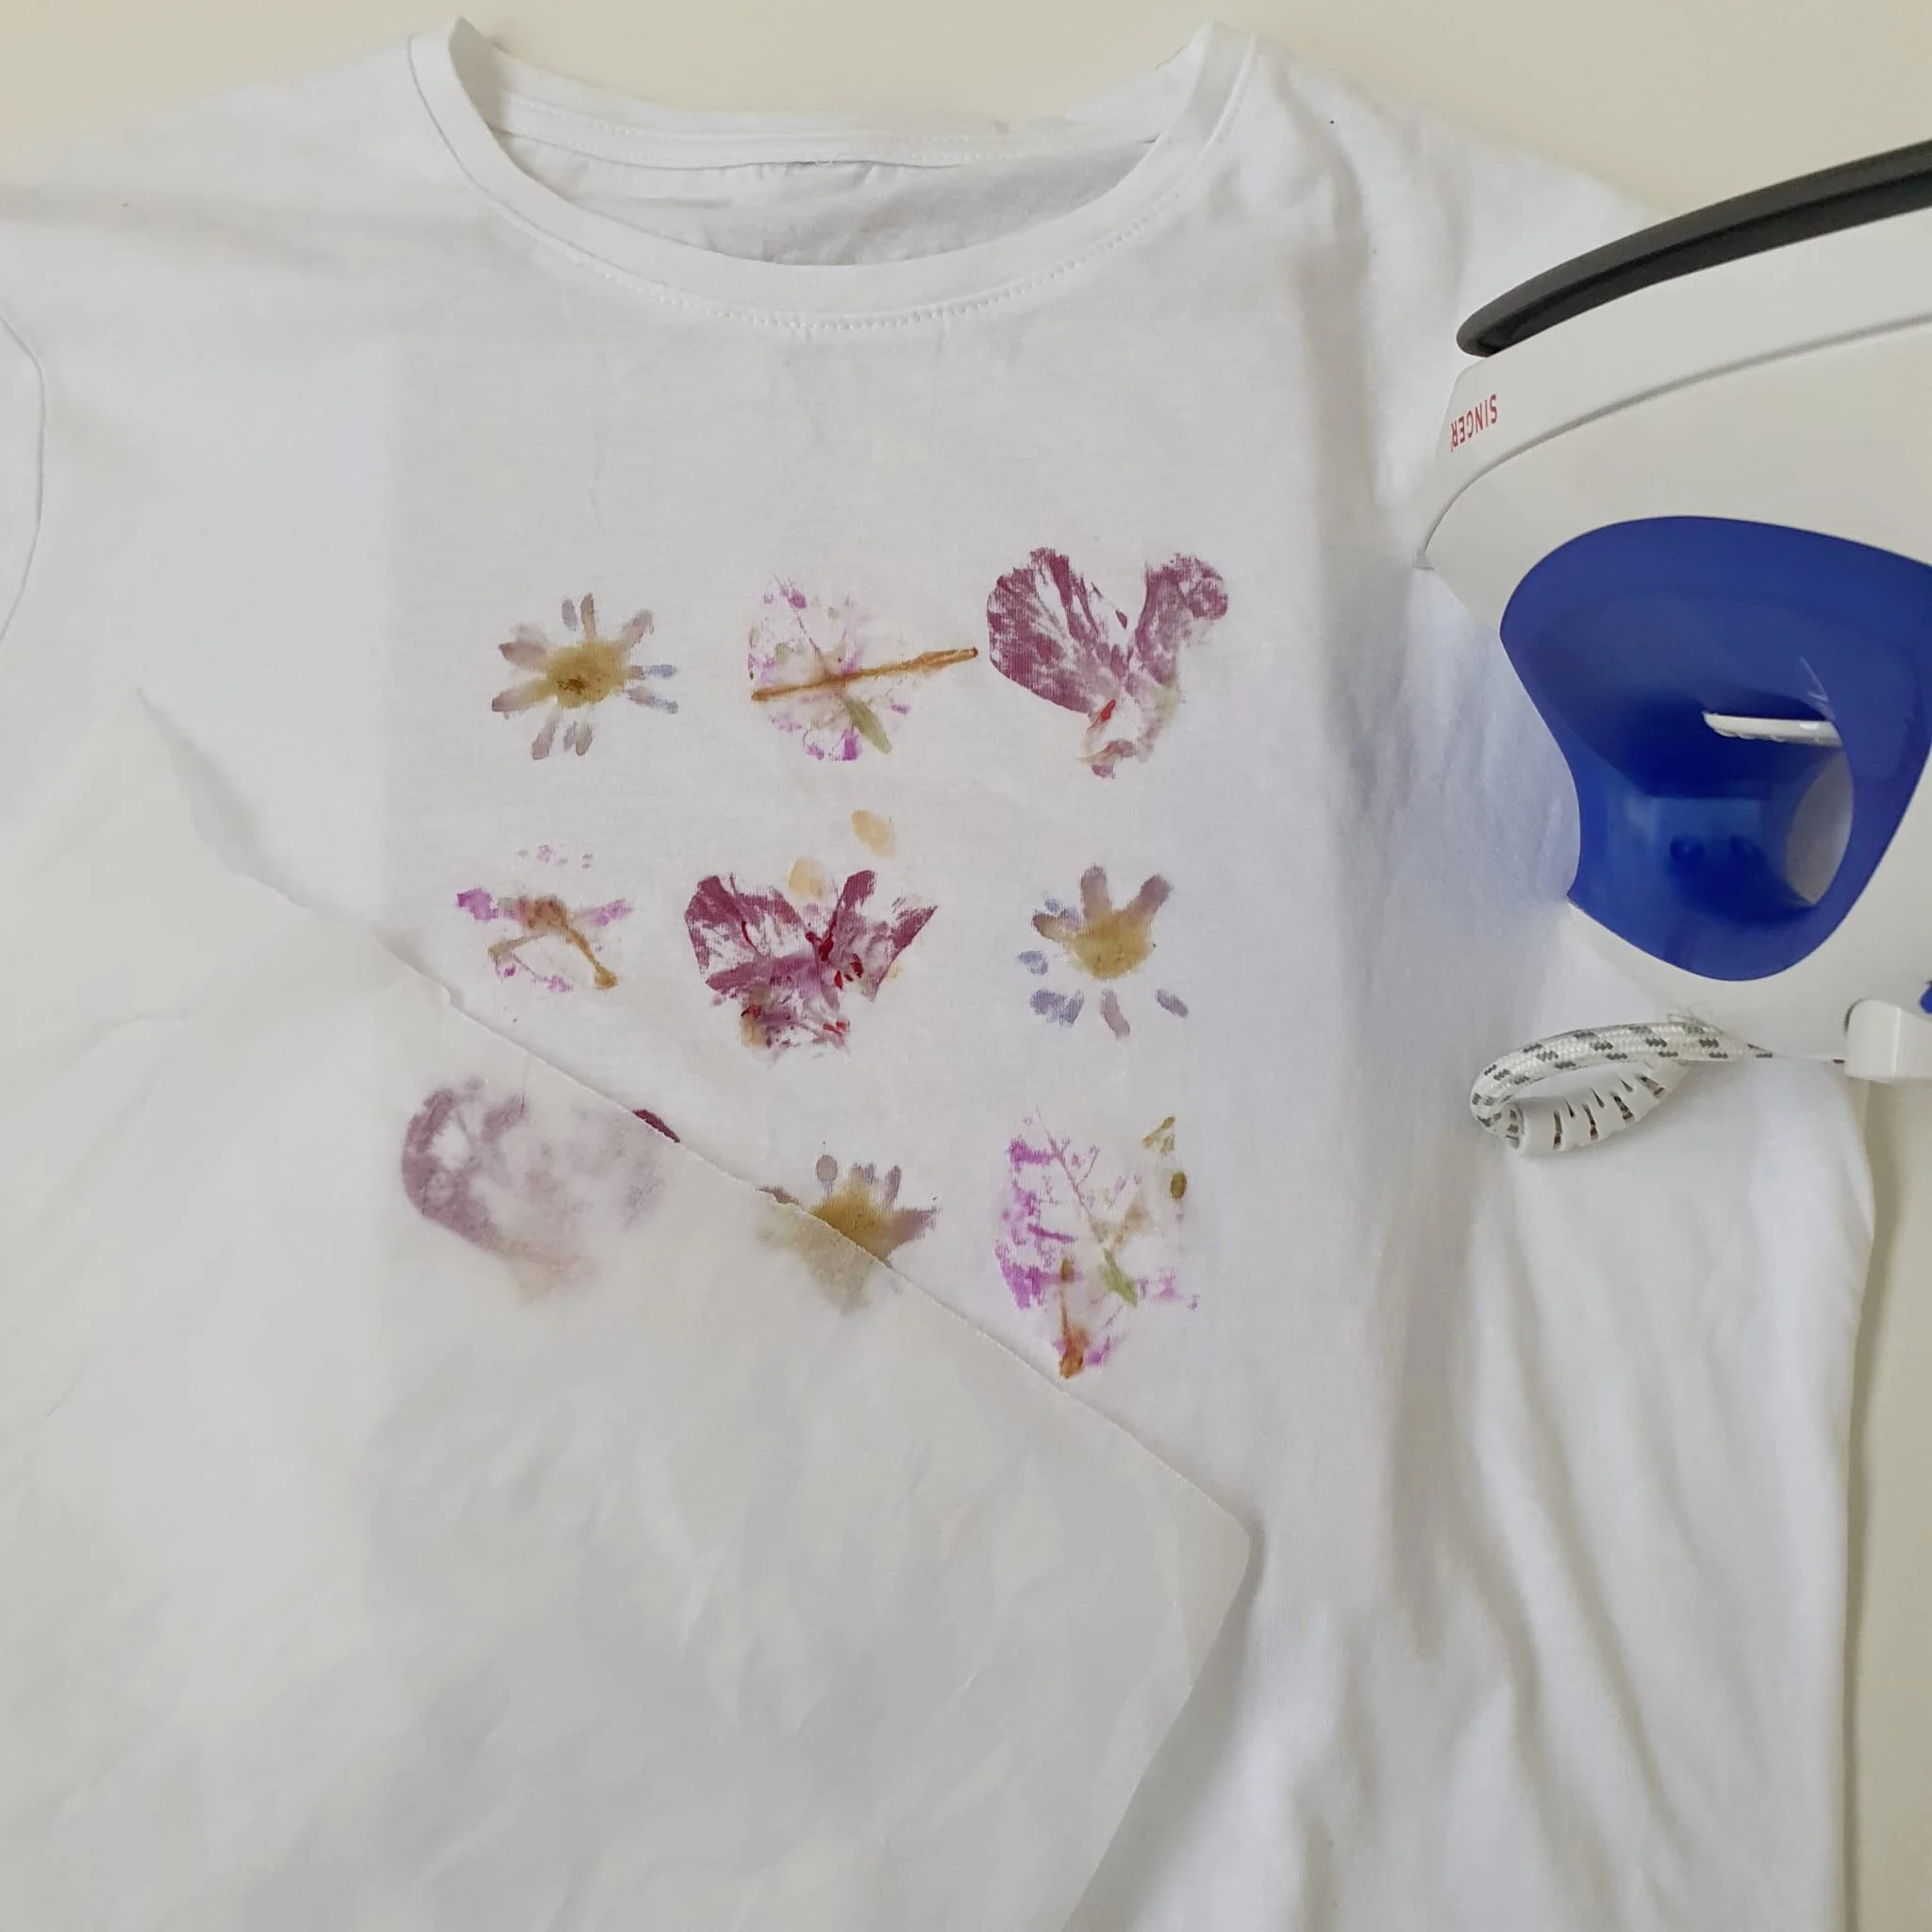
And there you have it - the perfect splash of colour to brighten up your winter wardrobe!
As with any craft project, we definitely learned a lot along the way so here are our best tips to ensure that you get the best floral print!
Pick the brightest, juiciest flowers you can find! The juicier they are, the more pigment will be transferred to your fabric, more pigment = more vibrancy and longevity of your print
Use lighter fabrics! As with any form of printing or colouring, starting on a dark base means that the colours won’t shine through as well so be sure to select fabrics that are as light as possible, white is definitely the best for the most vibrant results
If you do re-create this on a T-shirt or wearable item, be sure to set it properly. The heat setting method is great for items that you might not wash as often (a tote bag or pencil case) but if you’re planning on wearing your item all the time, try using the vinegar setting method as some of the pigment does wash away in a normal load of washing
Now that you have all the info, go ahead and get creating!
We can’t wait to see how your shirts come out so be sure to tag us on Instagram to show off a little bit, @hohperth 💕
Much love xx
House of Hobby