DIY Pom-Pom Statement Earrings

Who doesn’t love making just a little bit of a statement? Well, we have the thing for you - Pom-Pom Statement Earrings.
In a fun combination of nostalgia and fashion, we’re bringing pom-poms back and making them hot, and with just a few items, you too can add another bold set of earrings to your collection!
All you’ll need is:
Yarn (we used a gorgeous bright orange)
A piece of cardboard that’s as wide as you want your pom-pom with a slit part-way down the middle
Scissors
Jewellery findings of your choice (we used jewellery wire and earring hooks)
Pliers
Now that we’ve got everything together, let’s make that statement!
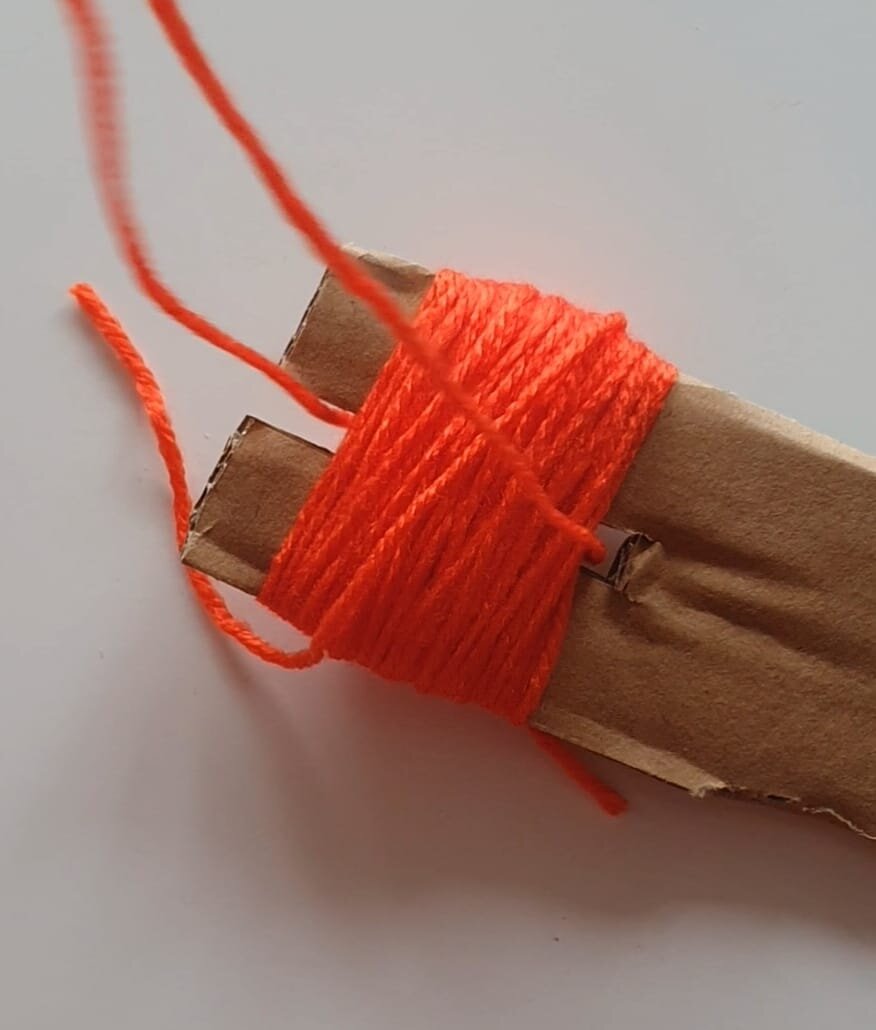
1. Cut a medium length of string and place the middle in the slit of your cardboard, this will later hold the pom-pom together so make sure it’s long enough to go around the centre and be tied into a knot. Our string was around 20cm long.

2. Time to getting wrapping! Holding the previous string in place, begin winding more yarn around the cardboard from left to right, making sure that the slit is in the middle. To get the best looking pom-pom, you’ll want to wrap it around 100-150 times, if you don’t do enough it might not look full when you take it off the cardboard and try to fluff it.
3. Once you have the yarn wound all around the cardboard, use the original string to tie a knot around the middle. This may not be super tight to begin with but slide the yarn off the cardboard and wrap the tails of the yarn around the middle again and tie tighter.
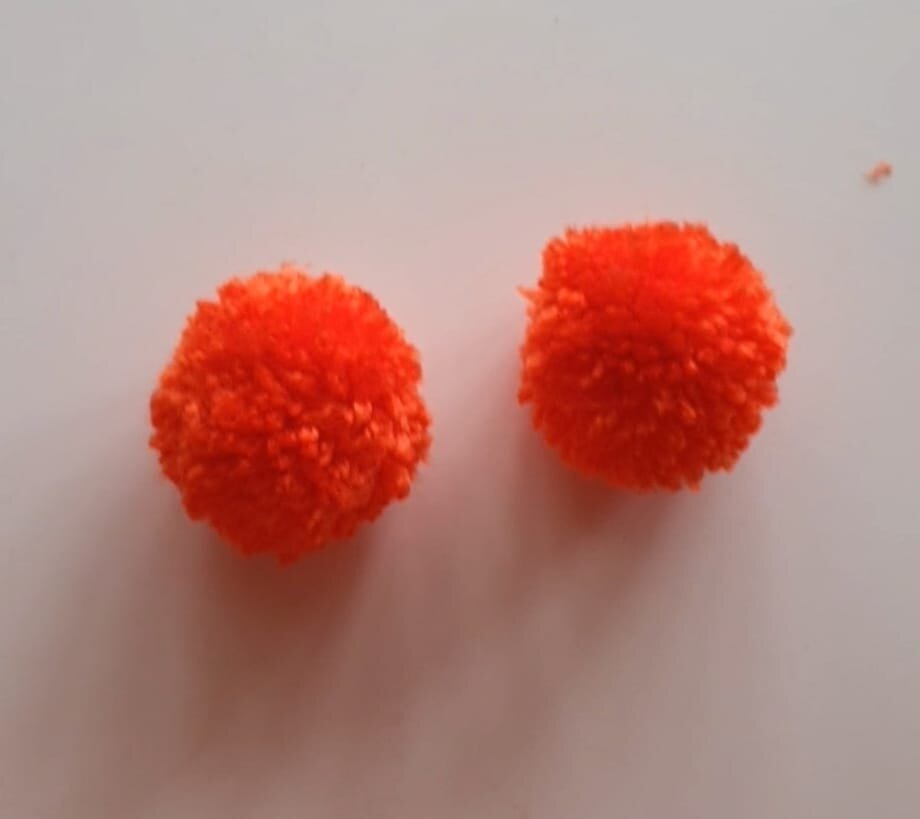
4. You should now have a flat pumpkin like shape with lots of yarn loops on either side of the knot. Using your scissors, snip through the middle of the loops to release the yarn and create a pom-pom. This may look messy at first but that’s ok, you’ll then go through and trim any longer points, rounding off the pom-pom to create a sphere.

5. Repeat steps 1-4 to create a second pom-pom. As long as you are using the same piece of cardboard, they should turn out roughly the same size.
6. When you have 2 pom-poms, it’s time to attach the findings. We used jewellers wire, wrapping it around the centre of the pom-pom, twisting the ends together to secure and then repeating this on the earring hook to create a drop-like effect.


7. Once both earrings are fastened, you’re good to go so get out there and make a statement!
We absolutely love creating and seeing others do it while looking fabulous is our favourite thing so please tag us on Instagram, @hohperth, when you show off your new favourite pair of earrings!
We hope you enjoyed this little DIY, we’ll see you for the next one soon!
Much love HOH xx